Früher waren Bildschirmschoner ein Schutz für alte Röhrenmonitore, damit bei längeren Arbeitspausen keine Schäden am Bildschirm entstehen konnten. Diese Sorge ist heute unbegründet. Der Bildschirmschoner dient mehr als Unterhaltung und als Schutz vor neugierigen Augen. Bunte Bilder oder 3D-Animationen sind besonders beliebt. Wie du deinen Windows 10 Bildschirmschoner aktivieren und ausschalten kannst, zeigen wir dir in diesem Artikel.
Windows 10 Bildschirmschoner – Was steckt dahinter?
Bei den Röhrenbildschirmen aus den 80er und 90er Jahren hatte der Bildschirmschoner eine echte Aufgabe zu erfüllen. Bei langen inaktiven Zeiten konnte es passieren, dass sich sogenannte „Geisterbilder“ in den Bildschirm einbrannten. Diese waren eine blasse Version des vorher angezeigten Bildes.
Bei den heutigen Monitoren braucht man keine Angst mehr vor dem „Einbrennen“ zu haben. Der Bildschirmschoner dient heute als Sperrbildschirm oder bunte Abwechslung für eine Bildschirmpause. Außerdem erfüllt er die Funktion eines „Schlosses“, denn ohne das Windows Passwort wird der Bildschirm nicht wieder freigegeben.
Beim Windows 10 Bildschirmschoner sind vor allem Bilder in 3D-Optik besonders beliebt, aber auch die bunten Aquarien werden gerne genutzt. Wer es lieber klassisch mag, kann auch eine einfache Uhr als Anzeige wählen. Ein neuer Trend sind Live-Bilder. Diese werden von einer öffentlichen Live-Cam aufgenommen und wechseln zwischen dem Tag/Nacht-Rhythmus ab.
Die Auswahl an Einstellungen beim Bildschirmschoner ist wirklich groß und leicht anzupassen. In unseren einfachen Anleitungen erfährst du alles Wissenswerte zum Thema.
Windows 10 Bildschirmschoner aktivieren
Benötigte Zeit: 5 Minuten
Den Windows 10 Bildschirmschoner aktivieren geht ganz einfach. Befolge dazu nur diese Schritte:
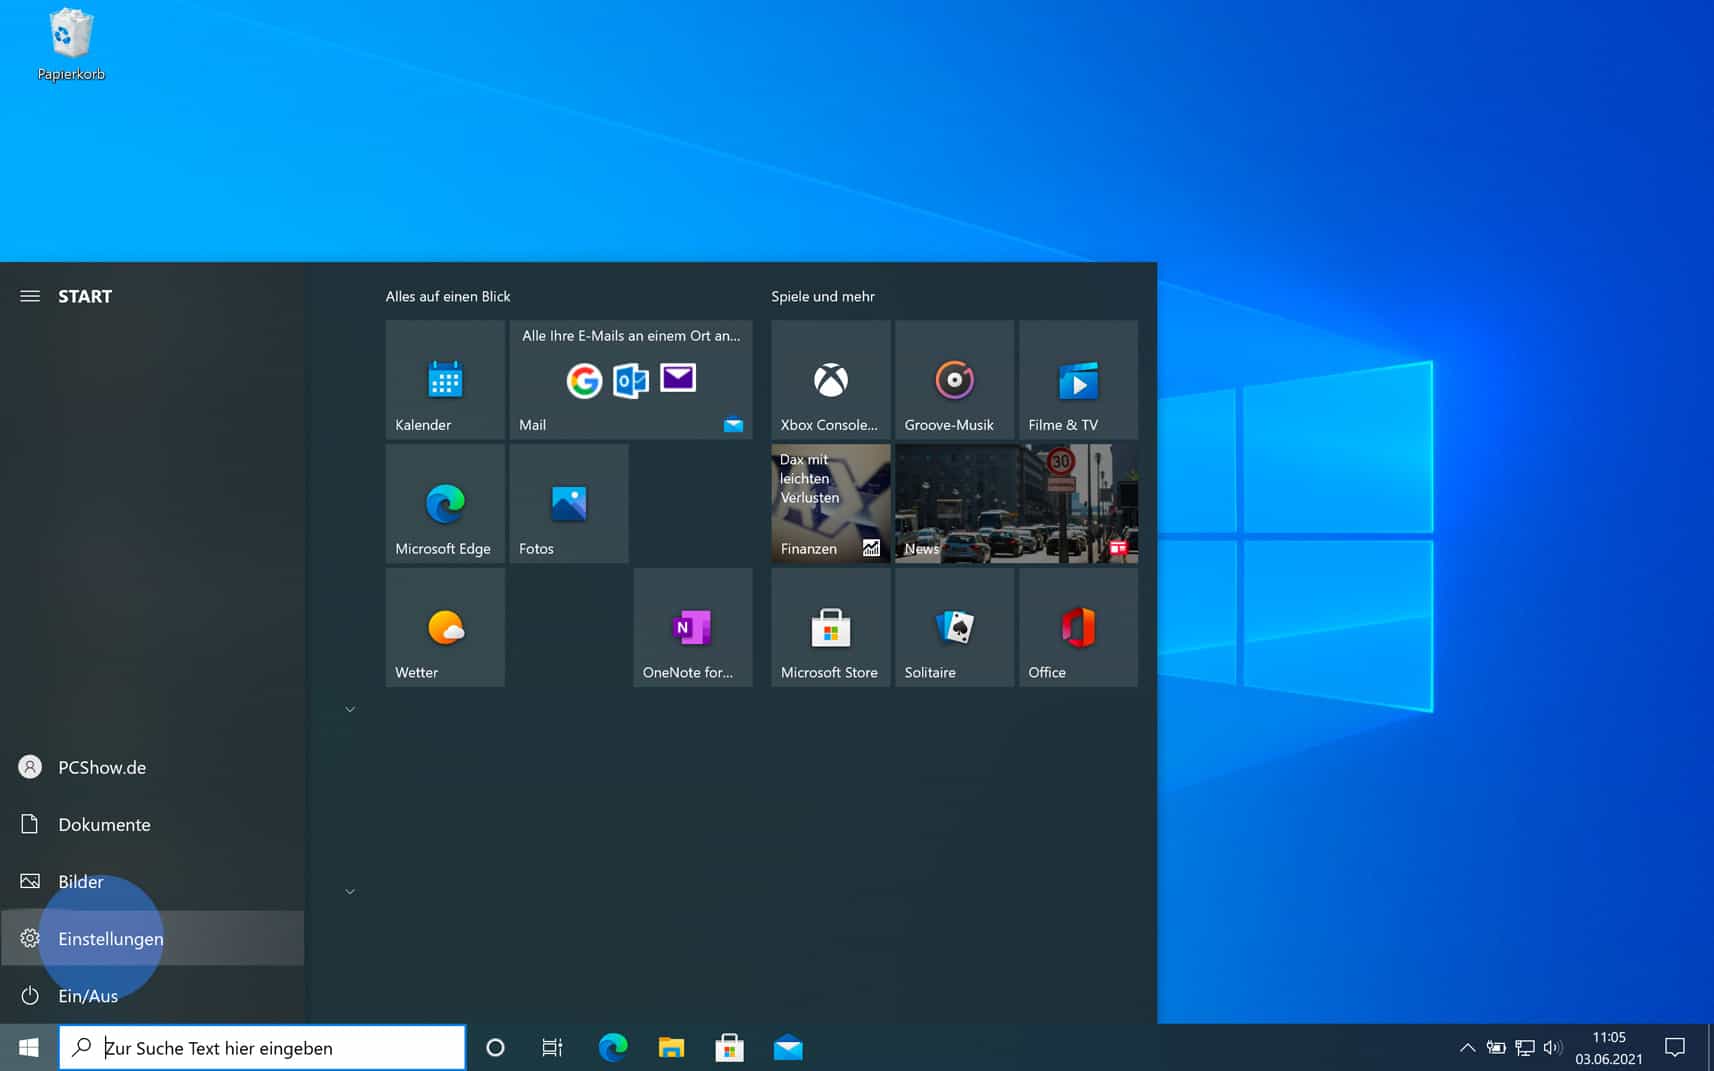
- Einstellungen öffnen
Klicke links unten auf das Windows-Symbol und dann auf das Zahnrad. Du kannst auch die Tastenkombination [Windows] + [i] benutzen.
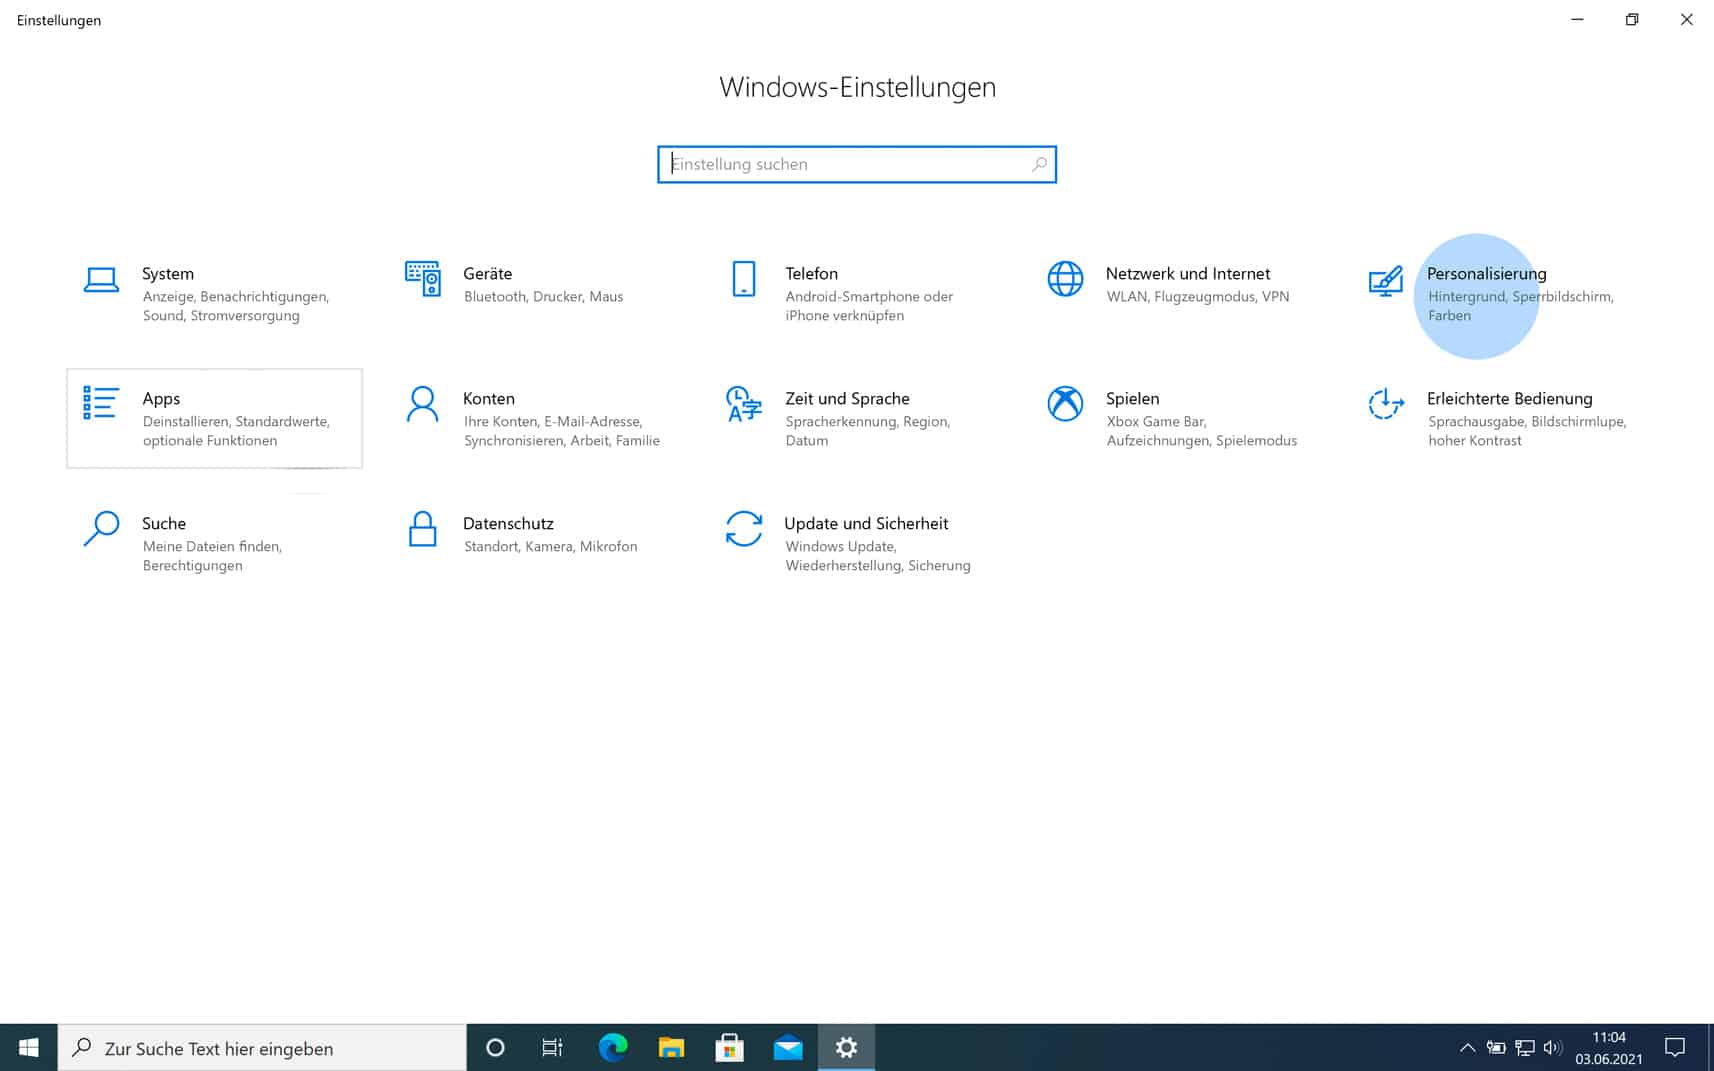
- „Personalisierung“ auswählen
Wähle in der Ansicht den Punkt „Personalisierung“ aus.
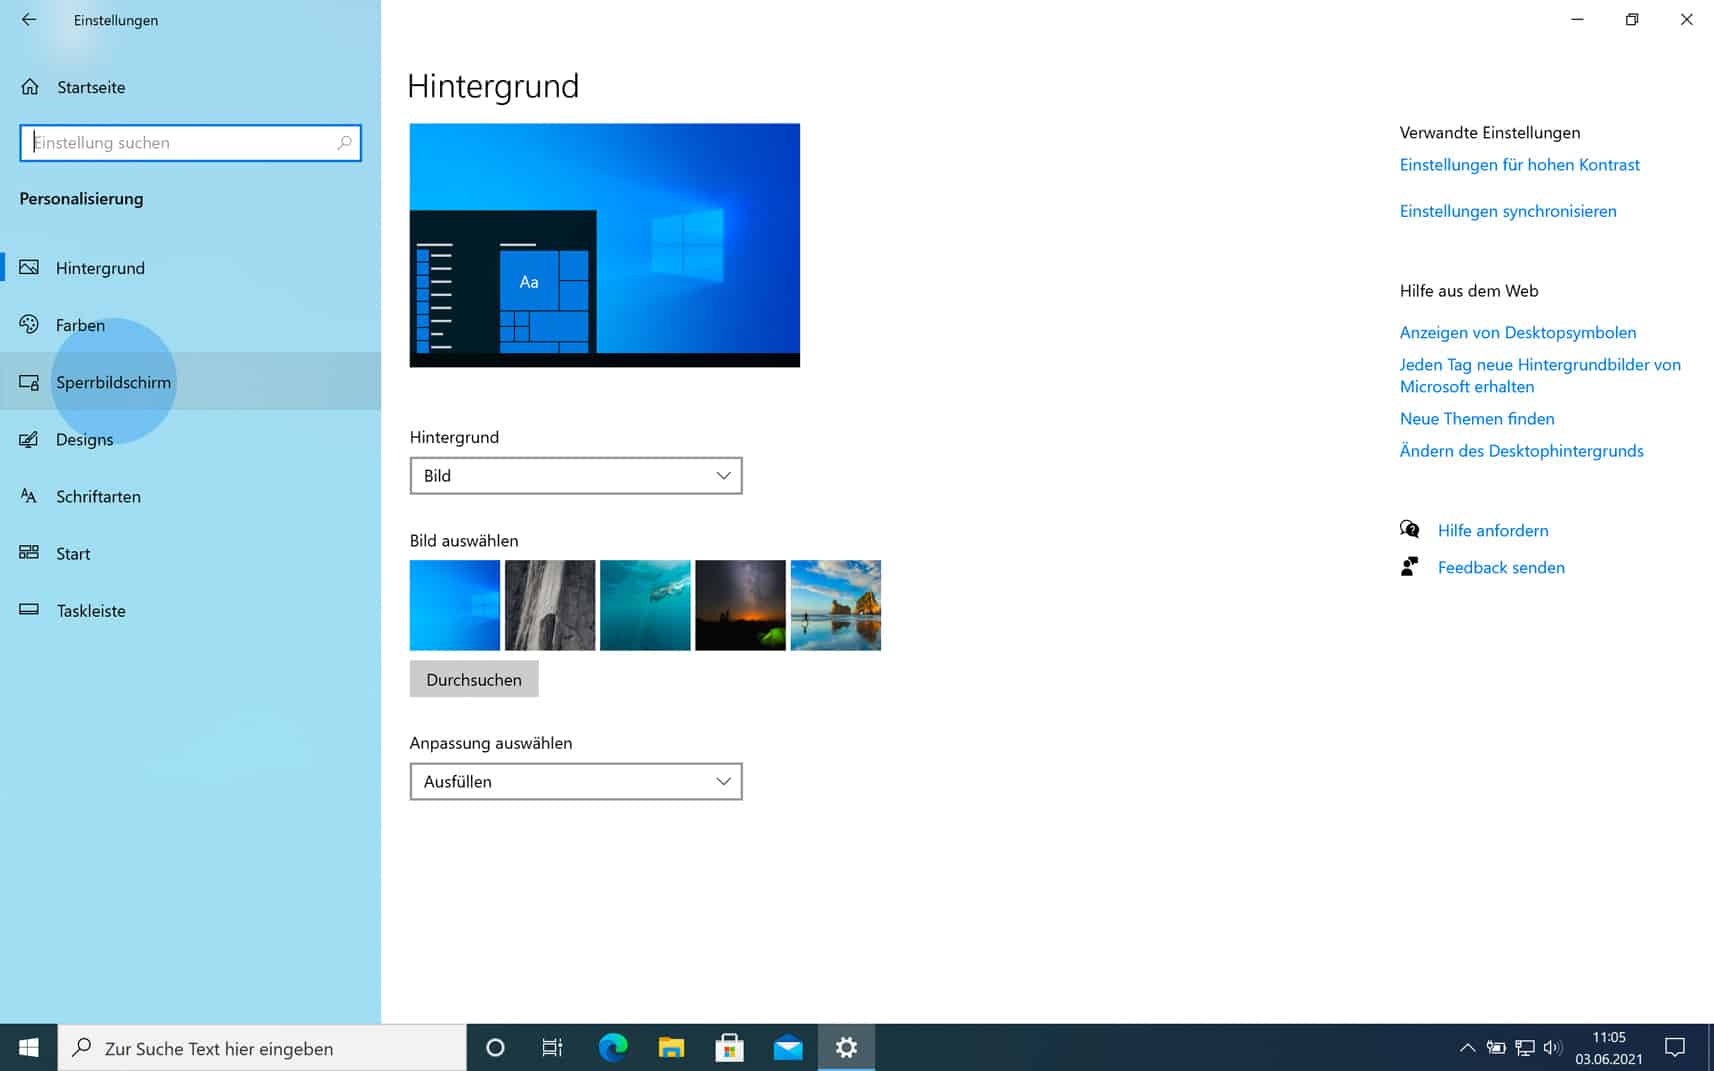
- „Sperrbildschirm“ anklicken
Gehe als Nächstes in den linken Abschnitt „Sperrbildschirm“.
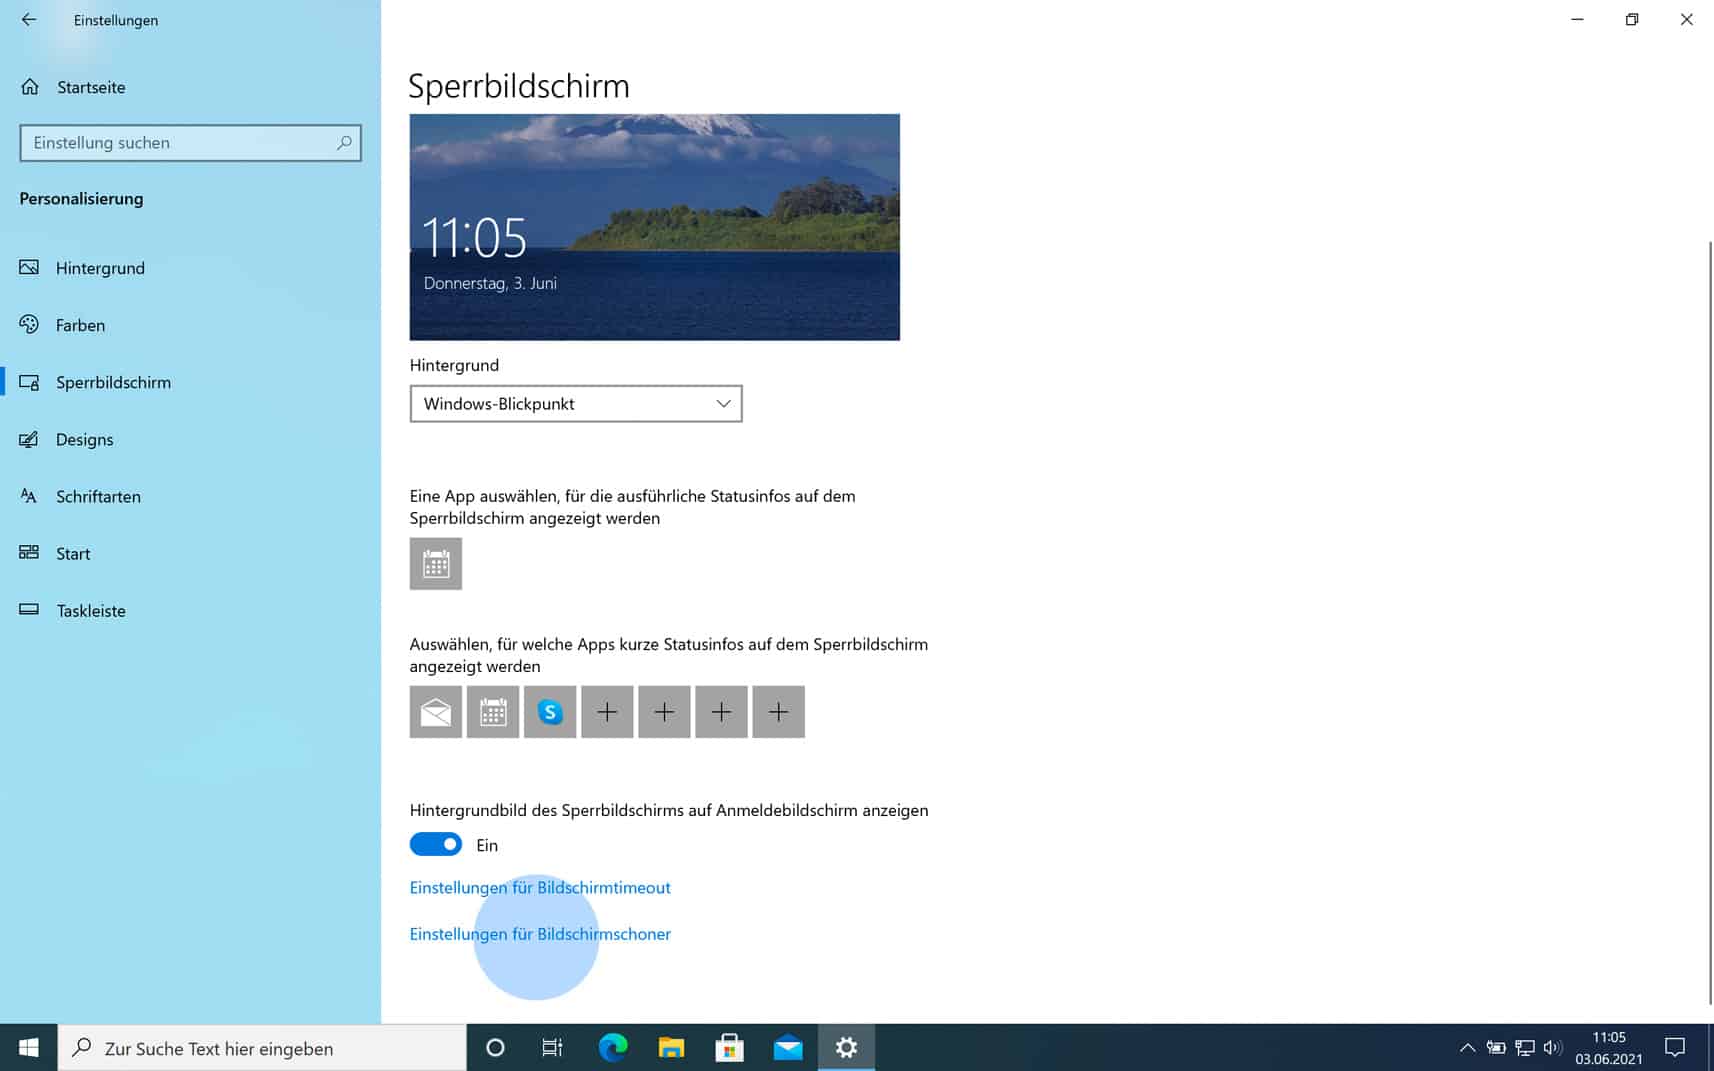
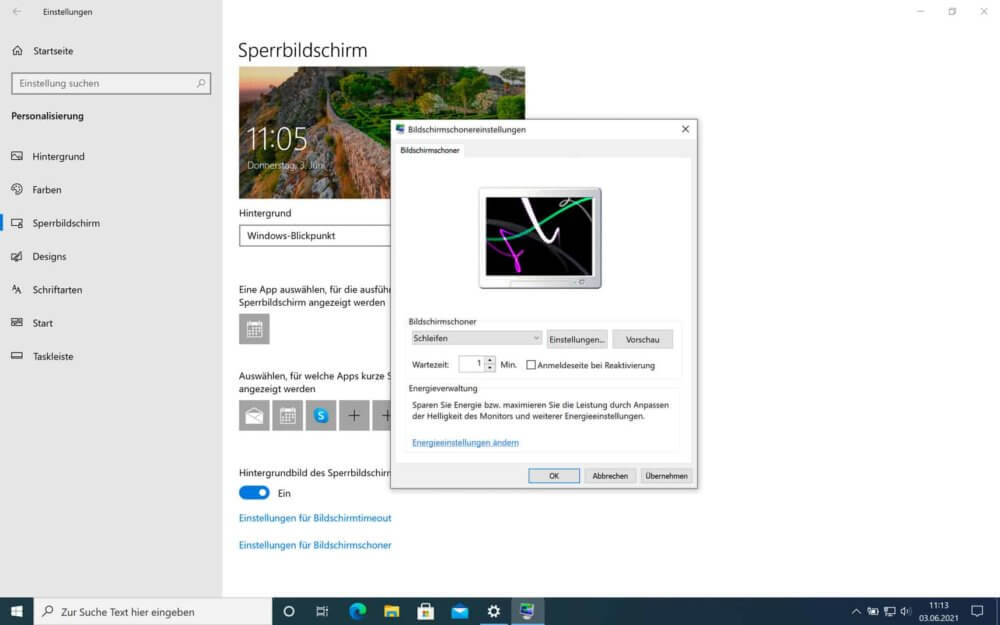
- „Einstellungen für Bildschirmschoner“ wählen
Klicke ganz unten die Option „Einstellungen für Bildschirmschoner“ an. Es öffnet sich ein neues Fenster.
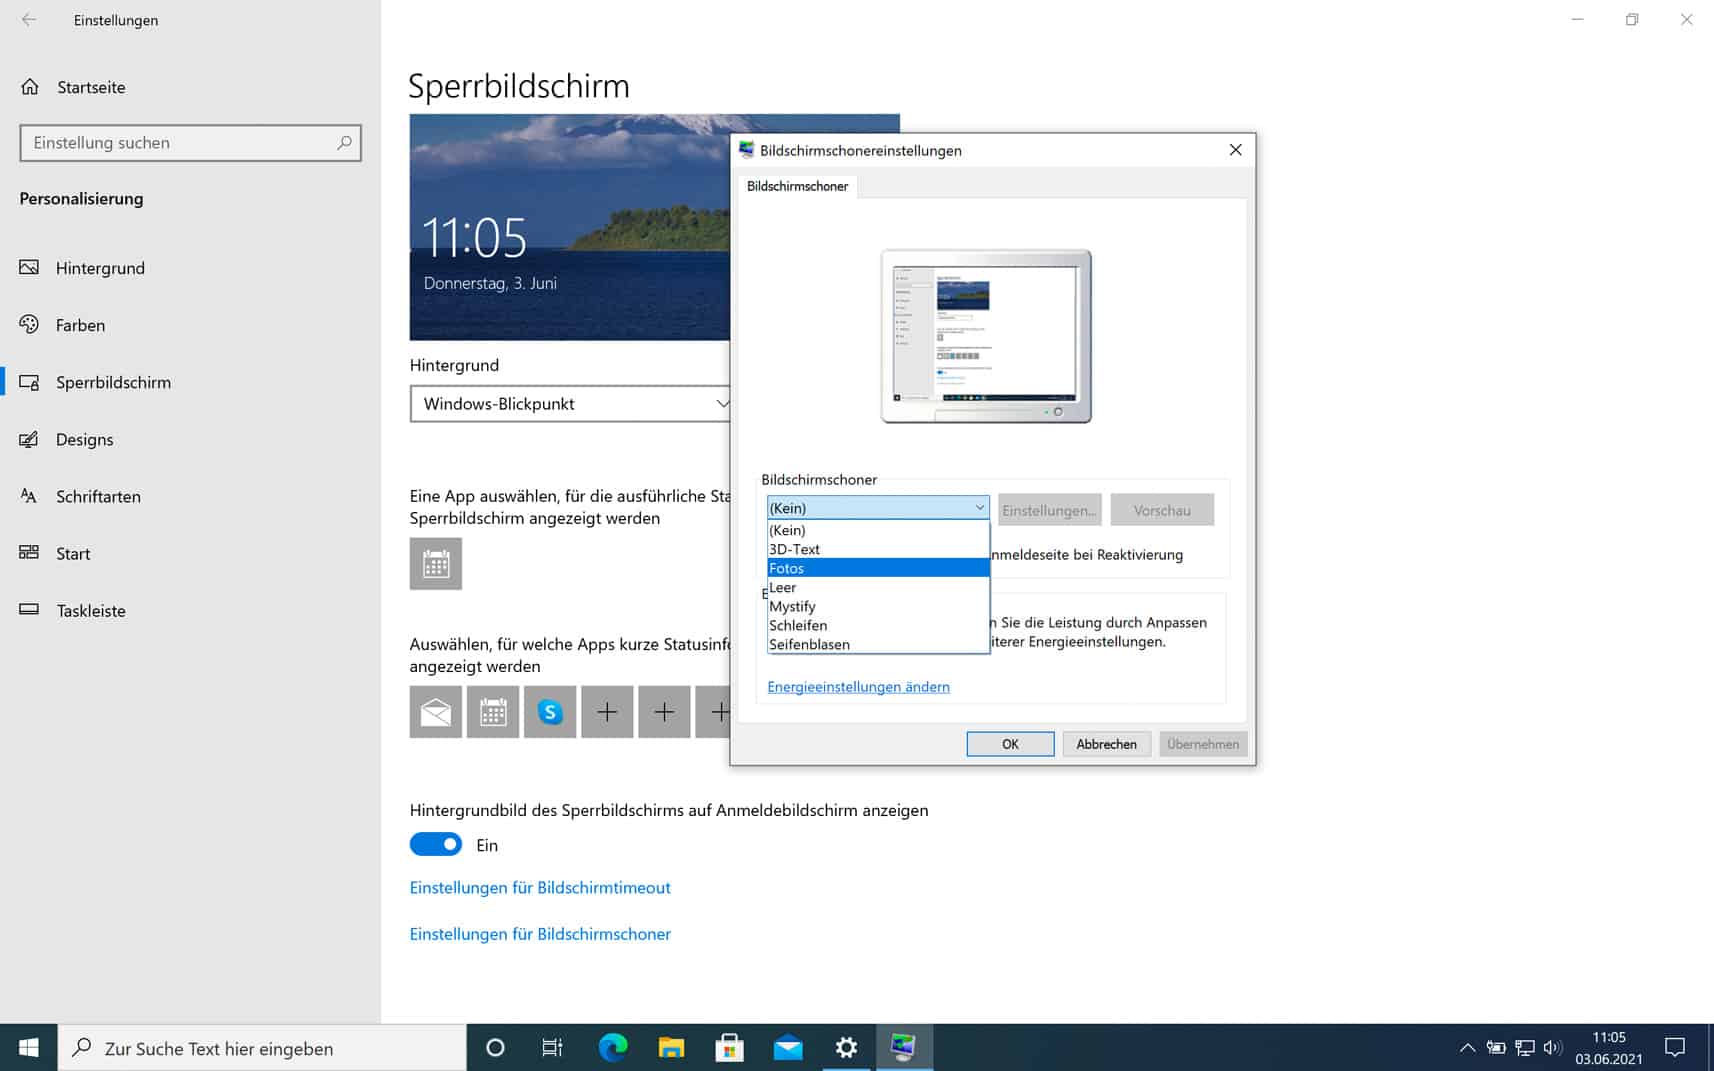
- Gewünschten Bildschirmschoner aussuchen
Du kannst jetzt unter „Bildschirmschoner“ dein gewünschtes Bild auswählen. Solltest du es ändern wollen, kannst du es über die Einstellungen anpassen. Du kannst auch die Wartezeit und die Aktivierungszeit festlegen.
- Auswahl speichern
Speichere deine Einstellungen mit „Ok“.
Windows 10 Bildschirmschoner einstellen
Du möchtest Details bei deinem Windows 10 Bildschirmschoner einstellen? Das klappt ganz leicht, wenn du dieser Anleitung folgst:
- Öffne die Einstellungen links unten im Startmenü. Alternativ verwendest du die Tastenkombination [Windows] + [i].
- Gehe auf „Personalisierung“ und dann auf „Sperrbildschirm“.
- Ganz unten kommst du über die Einstellungen zum Bildschirmschoner.
- Klicke im neuen Fenster auf „(Kein)“ und wähle dann den gewünschten Bildschirmschoner aus. Die Bildschirmschoner kannst du mit der „Vorschau“ ausprobieren. Du musst kein Bild verwenden, sondern kannst auch einen individuellen 3D-Text erstellen.
- Hast du deinen Bildschirmschoner ausgewählt, kannst du noch eine Wartezeit einstellen. Diese legt fest, nach wie vielen Minuten der Bildschirmschoner startet. Hast du alles erledigt, bestätige mit „Ok“.
- Wenn du möchtest, dass der Bildschirmschoner nur dann beendet wird, wenn das Windows-Kennwort eingetippt wurde, musst du bei „Anmeldeseite bei Reaktivierung“ ein Häkchen setzen.
- Bestätige alle Eingaben mit „Ok“.
Bildschirmschoner einstellen durch Shortcut
Wenn du oft Änderungen an deinem Windows 10 Bildschirmschoner vornimmst, ist eine Verknüpfung auf dem Desktop sehr praktisch. Diese erstellst du ganz einfach so:
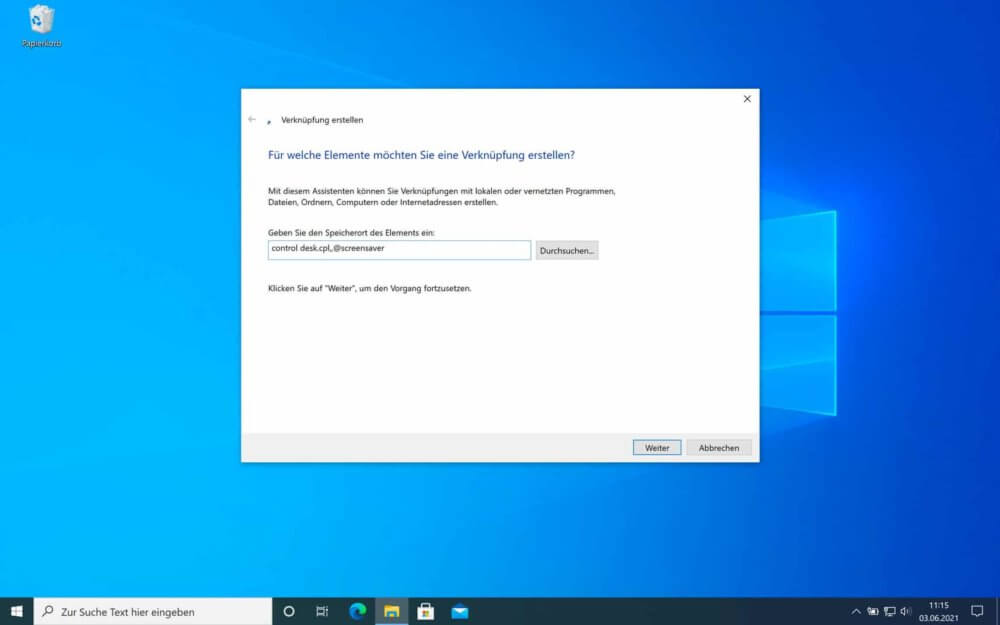
- Wähle eine freie Stelle auf deinem Desktop aus und mache einen Rechtsklick mit der Maus.
- Klicke zuerst auf „Neu“ und dann auf „Verknüpfung“.
- Für den „Speicherort des Elements“ gib den Eintrag „control desk.cpl,,@screensaver“ ein und bestätige mit „Weiter“.
- Der Verknüpfung kannst du einen Namen geben wie zum Beispiel „Bildschirmschoner-Einstellungen öffnen“.
- Klicke dann auf „Fertig stellen“.
Windows 10 Bildschirmschoner deaktivieren
Du hast keine Lust mehr auf deinen Bildschirmschoner? So kannst du deinen Windows 10 Bildschirmschoner deaktivieren.
- Öffne die Windows-Einstellungen oder verwende die Tastenkombination [Windows] + [i].
- Gehe wieder über „Personalisierung“ auf den „Sperrbildschirm“.
- Wähle dann „Einstellungen für Bildschirmschoner“ aus.
- Im neuen Fenster „Bildschirmschoner“ klickst du auf den Eintrag „(Kein)“ und dann auf „Ok“.

Unser Fazit
Der Windows 10 Bildschirmschoner kann aus vorinstallierten Bildern, den eigenen Urlaubsfotos, 3D-Animationen oder Live-Bildern bestehen. Neben der hübschen Optik schützt er deinen PC auch vor fremden Zugriffen. Das Aktivieren und Deaktivieren sowie verschiedene Einstellungen sind im Handumdrehen gemacht. Wenn du noch Fragen zum Thema hast, dann lass es uns in den Kommentaren wissen.